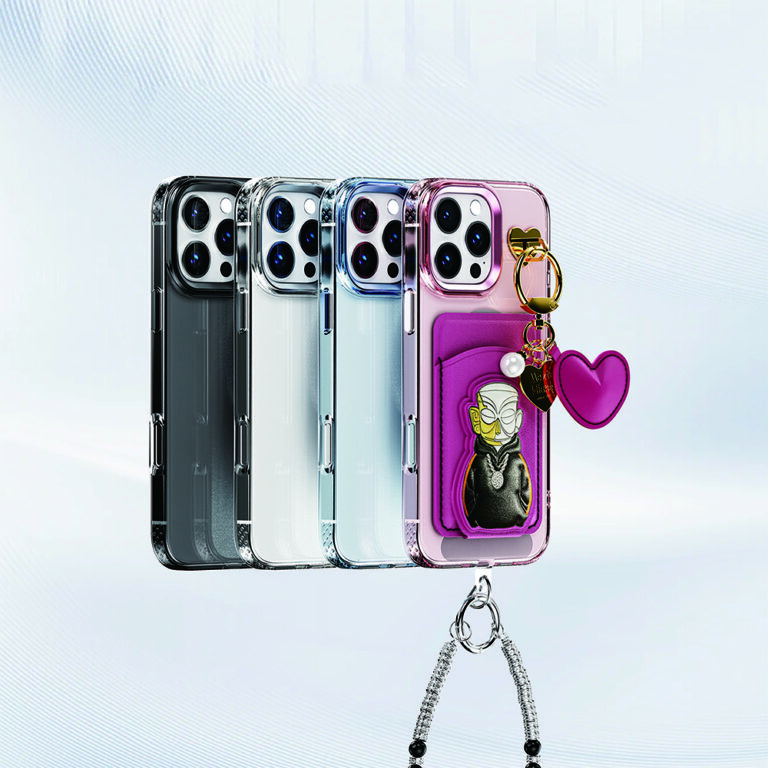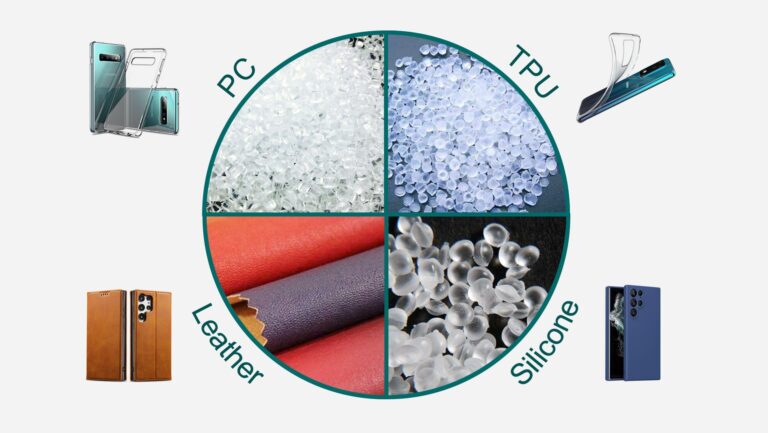
To specify camera clearance in a phone case, start with the exact phone model, its verified camera geometry, and the outcome you want around the lenses. Write that outcome as a measurable relationship to named reference surfaces, not as one rim height reused across every model. Then check a sample on the exact device for camera obstruction, correct fit, and stable placement.
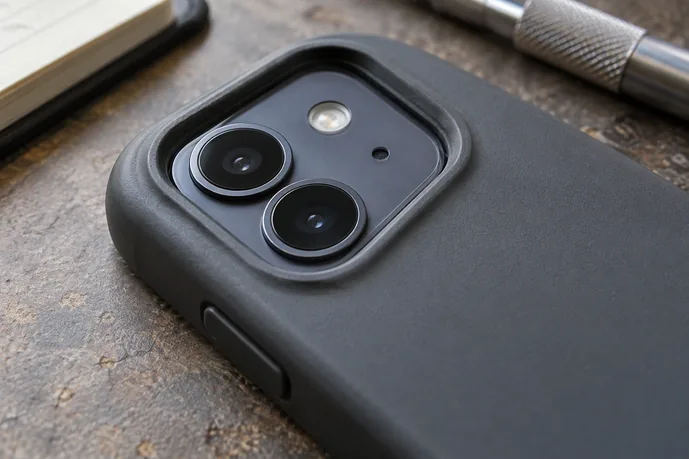
A raised camera edge describes geometry. It does not prove impact protection by itself, so performance claims need their own product-specific evidence.
Identify the Exact Device and Camera Geometry
Every clearance target depends on the source geometry for one specific phone. Camera modules differ between models and sometimes between variants in the same family. A dimension borrowed from another phone can produce an opening that is too tight or a rim that sits in the wrong place.
Before anyone sets an opening size or rim height, pin down these inputs:
- Exact model and variant. Record the full model name. Treat Pro, Max, Plus, and regional variants as separate devices unless verified geometry shows they match.
- Controlled geometry source. Use an exact-model manufacturer drawing, product manual, CAD file, or maintained engineering geometry. Record its revision or date so you know which data the case was built from.
- Intended accessory setup. State whether the case must work with a bare camera, a lens protector, or another camera accessory. A protector can change the height of the exposed surface. If it is part of the intended use, it belongs in the spec.
- Camera-area boundary. Use the source geometry to outline the full camera bump or plateau, not only the individual lenses.
- Functional features near the opening. Mark the lenses, flash, sensors, and microphones near the camera area. Any of these can be blocked by the case opening or the rim wall.
If you can’t get exact-model geometry, leave the numeric fields blank. A blank field is a known open item. A guessed value looks finished but can fail at sampling.
Write the Clearance or Coverage Requirement
A usable requirement separates two things: the outcome you want and the number used to achieve it. The outcome might be “the exposed lens surface sits recessed below the case support plane” or “the case wall surrounds the full camera plateau.” The number comes later, from verified geometry and your tolerance analysis.
Direction matters as much as size. Define one support plane, usually the plane the case rests on when the phone lies screen-up on a flat surface. Then state whether the lens or protector surface should be recessed, flush, or proud relative to that plane. A clearance value with no stated direction or datum can be read two ways, and suppliers may build it two ways.
The template below shows the fields to fill. Placeholders stay as placeholders until exact-model evidence supports a value.
| Specification field | Definition or reference | Exact-model value/source |
|---|---|---|
| Device and source revision | Full model name; drawing or CAD revision | From controlled geometry |
| Accessory configuration | Bare camera, named lens protector, or other accessory | Defined by product team |
| Reference surface (datum) | Case support plane or named camera surface | Named on drawing |
| Intended lens coverage | Outcome, such as wall surrounding full camera plateau | Stated in words |
| Clearance direction | Recessed, flush, or proud vs. datum | Stated in words |
| Clearance value and tolerance | Distance from datum to exposed lens/protector surface | Only from verified data |
| Opening boundary and keepouts | Edge of opening; no-go zones for lenses, flash, sensors | From geometry source |
| Measurement method | Tool, fixture, and points measured | Team’s controlled method |

Two fields often get skipped. The first is the keepout zone. An opening can clear the lenses but still let the rim wall shadow the flash or crowd a sensor, so mark those areas as off-limits for case material. The second is the measurement method. If the factory and your QC team measure from different points, they can both report a pass on different parts.
Where we develop cases with brand partners, we treat a missing value in this table as an open requirement to resolve before tooling, not something to fill with a typical number.
Validate the Sample on the Exact Device
Sample checks should test the stated target on the real phone, in the configuration you specified. These are practical checks to adapt to your process. They are not a standardized test method. Keep three questions separate: Does the camera work without obstruction? Does the case fit mechanically? Does the geometry match the spec?
- Install the sample in the specified setup. Use the exact target phone. Fit the lens protector or accessory first if it is part of the intended use. Note the model, accessory, and sample revision.
- Check seating and fit. Confirm the case snaps fully into place. Look for gaps, lifting corners, or shifting around the camera area. Check that the camera plateau sits inside the opening without rubbing the rim wall.
- Check camera and flash function. Open each camera view the product is meant to support, including wide and zoom lenses. Look at the frame edges for dark corners or case edges in the image. Fire the flash and check photos for glare, reflections, or a shadowed area from the rim.
- Measure the clearance against the spec. Use the datum and measurement method named in the specification. Confirm the direction (recessed, flush, or proud) and compare the value with the stated tolerance.
- Check stable placement. Lay the phone screen-up on a flat, hard surface. Press lightly at each corner and watch for rocking. Confirm the lenses or protector do not touch the surface.
- Record the results. Log pass or fail for each check against the specification, with notes and photos. Limit the conclusion to the tested phone, accessory, and sample.
If a check fails, trace it back to its cause before changing the tooling. A shadow in photos points to the opening boundary or keepouts. Rocking usually points to rim height or how even the rim is. Surface contact points to the clearance value or its tolerance.
Don’t stretch a passing result to untested setups. A sample that passes on a bare camera has not been checked with a thick lens protector. A pass on one model also says nothing about a similar-looking variant.
Keep Clearance Separate from Impact-Protection Claims
A clearance measurement shows that the case meets a geometric target in one tested setup. It does not show what happens to the camera when the phone is dropped. Whether a rim actually protects the lenses in a fall depends on more than height. Drop height, impact angle, surface, and how the case material absorbs and spreads force all play a part.
Impact performance is a separate claim and needs its own evidence. Formal shock test methods set out specific procedures and conditions, such as drop heights and pulse shapes. A result only applies to the procedure and setup actually tested. So “lenses sit recessed below the support plane in our tested setup” is a supported geometric statement. “Protects your camera from drops” needs product-specific test data behind it.
When we write product copy for camera-area features, we keep these two claim types apart. Describe the geometry you measured. Make a protection claim only when relevant test results for that product support it.
FAQs
Is there a standard camera clearance height for phone cases?
This guide doesn’t use one universal value, and you shouldn’t either. The right clearance depends on the exact phone’s camera geometry, whether a lens protector is used, and the outcome you choose. Set the value from verified model data and your own tolerance analysis.
Should the spec include a lens protector?
Yes, if customers are expected to use one with the case. A protector changes the height of the exposed surface and can change fit around the opening. Name it in the accessory configuration and test the sample with it installed.
Can one case spec cover several similar phone models?
Only if verified geometry shows the camera areas match within your tolerances. Otherwise, write a separate requirement for each model and validate each one on its own device.
Does a raised camera rim mean the case is drop-tested?
No. A raised rim is a geometric feature. Any drop or impact claim needs product-specific test evidence for that case.
If you’re preparing a camera-area specification for a new model, our team can review your fields and sample checks with you through our official store homepage.